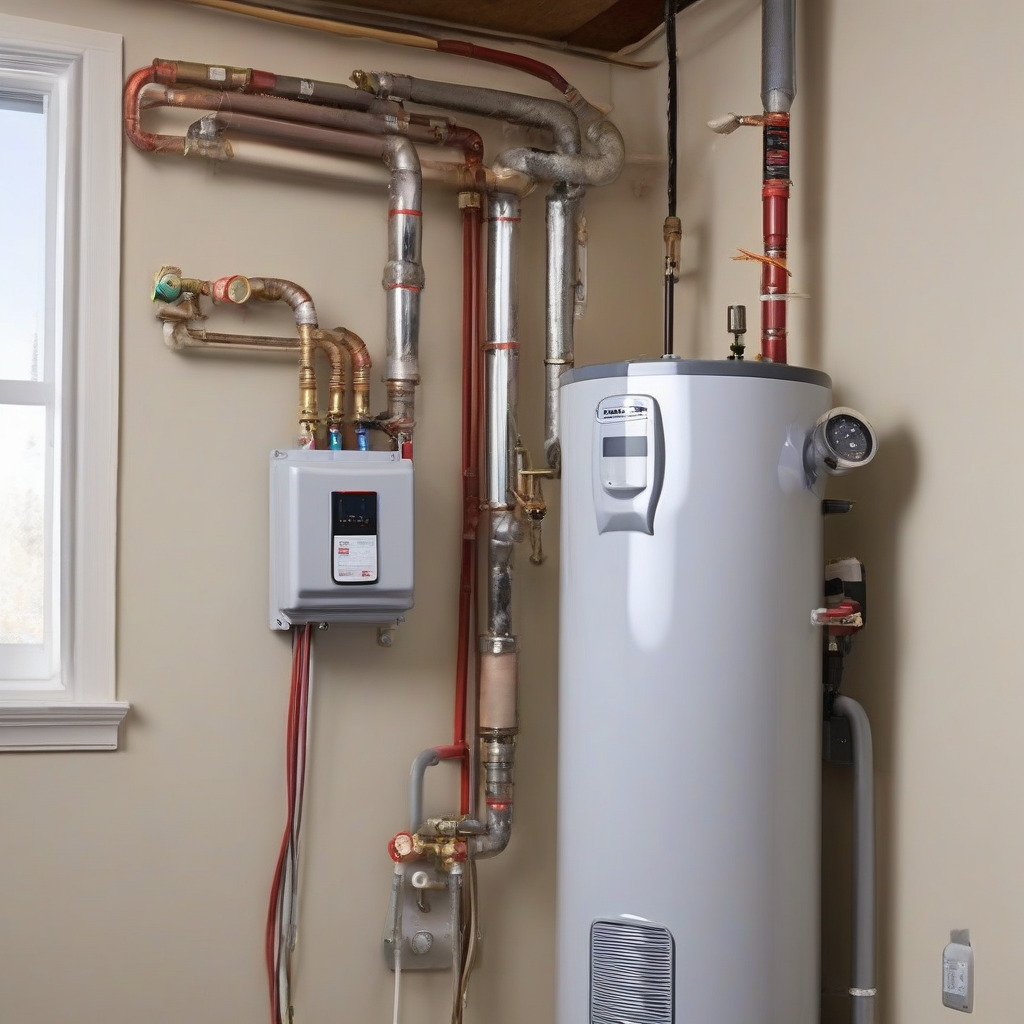
Conquering the Installation: A Comprehensive Guide to Electric Tankless Water Heater Setup
Installing an electric tankless water heater presents a unique set of challenges and rewards. While offering endless hot water on demand and significant energy savings compared to traditional tank water heaters, the installation process requires careful planning and execution. This guide will walk you through each step, from initial assessment to final testing, empowering you to tackle this project confidently.
Phase 1: Pre-Installation Planning and Preparation
Assessing Your Needs and Location
- Determine Hot Water Demand: Consider the number of bathrooms, simultaneous usage, and peak demand times to select a water heater with sufficient capacity. Underestimating your needs can lead to inadequate hot water supply during peak use.
- Electrical Requirements: Electric tankless heaters require significant amperage. Check your existing electrical panel to ensure it can handle the added load. You might need an electrical upgrade, potentially requiring a qualified electrician’s assistance.
- Plumbing Considerations: Evaluate the existing plumbing system’s capacity. Insufficient pipe diameter can restrict water flow, negating the benefits of a tankless heater. You might need to upgrade your plumbing, particularly for higher-flow models.
- Venting Requirements: While electric tankless water heaters don’t require venting in the same way as gas models, proper ventilation in the surrounding area is crucial for heat dissipation. Ensure adequate space around the unit for ventilation.
- Location Selection: Choose a location with easy access to both electrical and plumbing connections. Consider proximity to the points of use to minimize pipe runs and reduce heat loss.
Gathering Necessary Tools and Materials
- Electric Tankless Water Heater: Choose a model that meets your specific hot water demand and electrical capabilities.
- Plumbing Supplies: This includes copper or PEX piping, fittings (elbows, unions, tees), pipe sealant, and pipe clamps.
- Electrical Supplies: You’ll need appropriately sized wiring, conduit, electrical boxes, and connectors. Consult the manufacturer’s specifications for exact wire gauge and amperage requirements.
- Tools: A comprehensive toolkit is essential, including pipe wrenches (various sizes), a pipe cutter, pliers, screwdrivers (Phillips and flathead), a level, voltage tester, and potentially a hole saw for wall penetrations.
- Safety Equipment: Always prioritize safety. Wear safety glasses, gloves, and work boots. Consider using a circuit breaker lockout to prevent accidental power surges.
Phase 2: Installation Process
Turning Off Utilities
Before commencing any work, turn off both the water supply and the electricity to the area where you’ll be working. This is crucial for safety and prevents accidents.
Plumbing Installation
- Connect the Water Supply: Carefully connect the cold water supply line to the inlet of the tankless water heater. Use appropriate fittings and sealant to ensure a watertight connection. Tighten fittings securely but avoid over-tightening.
- Connect the Hot Water Outlet: Connect the hot water outlet of the tankless heater to your existing hot water plumbing system. Again, ensure all connections are secure and leak-free.
- Pressure Testing: Before turning the water back on, conduct a pressure test to check for leaks in your plumbing connections. This will save you significant time and potential damage later.
Electrical Installation
- Wiring Connections: Connect the wiring from the tankless heater to the dedicated circuit breaker in your electrical panel. Use the appropriate gauge wire and connectors as specified by the manufacturer and local electrical codes. Improper wiring can lead to fire hazards.
- Grounding: Ensure the tankless heater is properly grounded to prevent electrical shocks. Consult your local electrical codes for grounding requirements.
- Circuit Breaker Installation: Install a dedicated circuit breaker of the correct amperage to protect the tankless heater from overloads. Never overload a circuit.
Mounting the Water Heater
- Secure Mounting: Securely mount the tankless heater to the wall using the provided mounting hardware. Ensure the unit is level to ensure proper operation.
- Ventilation: Maintain adequate clearance around the unit for ventilation. Refer to the manufacturer’s instructions for minimum clearance requirements.
Phase 3: Testing and Commissioning
Turning on Utilities
Once all connections are complete, carefully restore power and water to the unit. Double-check all connections to ensure everything is secure.
Testing Hot Water Flow
- Check for Leaks: Thoroughly inspect all connections for any signs of leaks. Address any leaks immediately.
- Run Hot Water: Run hot water at multiple faucets simultaneously to test the unit’s capacity under peak demand conditions. Observe the water temperature and pressure.
- Temperature Adjustment: Adjust the water heater’s temperature setting to your desired level. Most units offer temperature controls to fine-tune the hot water output.
Troubleshooting
- Insufficient Hot Water: This may indicate inadequate unit sizing, low water pressure, or insufficient electrical supply.
- Erratic Temperature: Check the temperature settings and ensure proper water flow.
- Electrical Issues: If you encounter electrical problems, immediately turn off the power and consult a qualified electrician.
- Leaks: Address any leaks immediately. Tighten connections or replace faulty parts as needed.
Important Considerations
- Local Codes and Regulations: Always comply with all local building codes and electrical regulations. Failure to do so can result in penalties and safety hazards.
- Professional Assistance: If you are not comfortable undertaking this project yourself, it’s advisable to hire a qualified plumber and electrician. Improper installation can lead to costly repairs and safety risks.
- Manufacturer’s Instructions: Always refer to the manufacturer’s instructions for detailed guidance on installation and operation. These instructions contain vital safety information and troubleshooting tips.
- Warranty Considerations: Improper installation can void the manufacturer’s warranty. Ensure all installation steps are performed according to the manufacturer’s specifications.
- Regular Maintenance: Even with proper installation, regular maintenance is crucial to ensure the longevity and efficiency of your tankless water heater. This includes regular flushing and cleaning to prevent mineral buildup.
